Most blogs nowadays have some kind of comment section where people can leave their feedback, but most popular tools including Disqus don’t exactly fit the requirements of our modern time. On the search for a self-hosted, privacy-focused and free alternative to the mainstream tools, I hit my head on Commento.
Commento is a free, open-source, privacy-focused Disqus alternative that can be self-hosted on your hardware. In this article, I’m going to show you how to set up your comment section using Commento and the different configuration options that are available as well as the current development status of the Commento project.
If you are still unsure about Commento or if you even need a comment section, I recommend that you try it out in my comment section below and go from there.
Table of contents
Open Table of contents
Prerequisites
Before you begin this guide, you’ll need the following:
- A server with a public IP-Address on which you can host Commento.
- (Optional) A domain name and DNS A-Record pointing your domain to the server mentioned above.
Before we get started
Before we get started I wanted to mention that the original Commento Gitlab repository is no longer maintained. Therefore, we will be using an updated version from Github, which is much more active and has a lot of useful new features.
Here is a list of some new features that were implemented in the Github repository:
- Guest commenting (Without needing to login)
- Direct SSL support
- Various bug fixes and improvements
Setting up Commento
Commento is a Golang based application that uses PostgresSQL as the backend database and can easily be deployed using either the available binary or Docker. This guide will use Docker-Compose since it allows us to easily orchestrate both Commento and PostgresSQL with a single configuration.
version: '3'

services:
  server:
    image: caroga/commentoplusplus
    ports:
      - 8080:8080
    environment:
      COMMENTO_ORIGIN: http://commento.example.com:8080
      COMMENTO_PORT: 8080
      COMMENTO_POSTGRES: postgres://postgres:postgres@db:5432/commento?sslmode=disable
      #COMMENTO_FORBID_NEW_OWNERS: "true"
      COMMENTO_GZIP_STATIC: "true"
    networks:
      - db_network
    depends_on:
      - db
  db:
    image: postgres
    environment:
      POSTGRES_DB: commento
      POSTGRES_USER: postgres
      POSTGRES_PASSWORD: postgres
    volumes:
      - postgres_data_volume:/var/lib/postgresql/data
    networks:
      - db_network

volumes:
  postgres_data_volume:
networks:
  db_network:
Remember to change the COMMENTO_ORIGIN to the domain you want to use or to localhost if you are testing it locally. You can now start the configuration using the docker-compose up command.
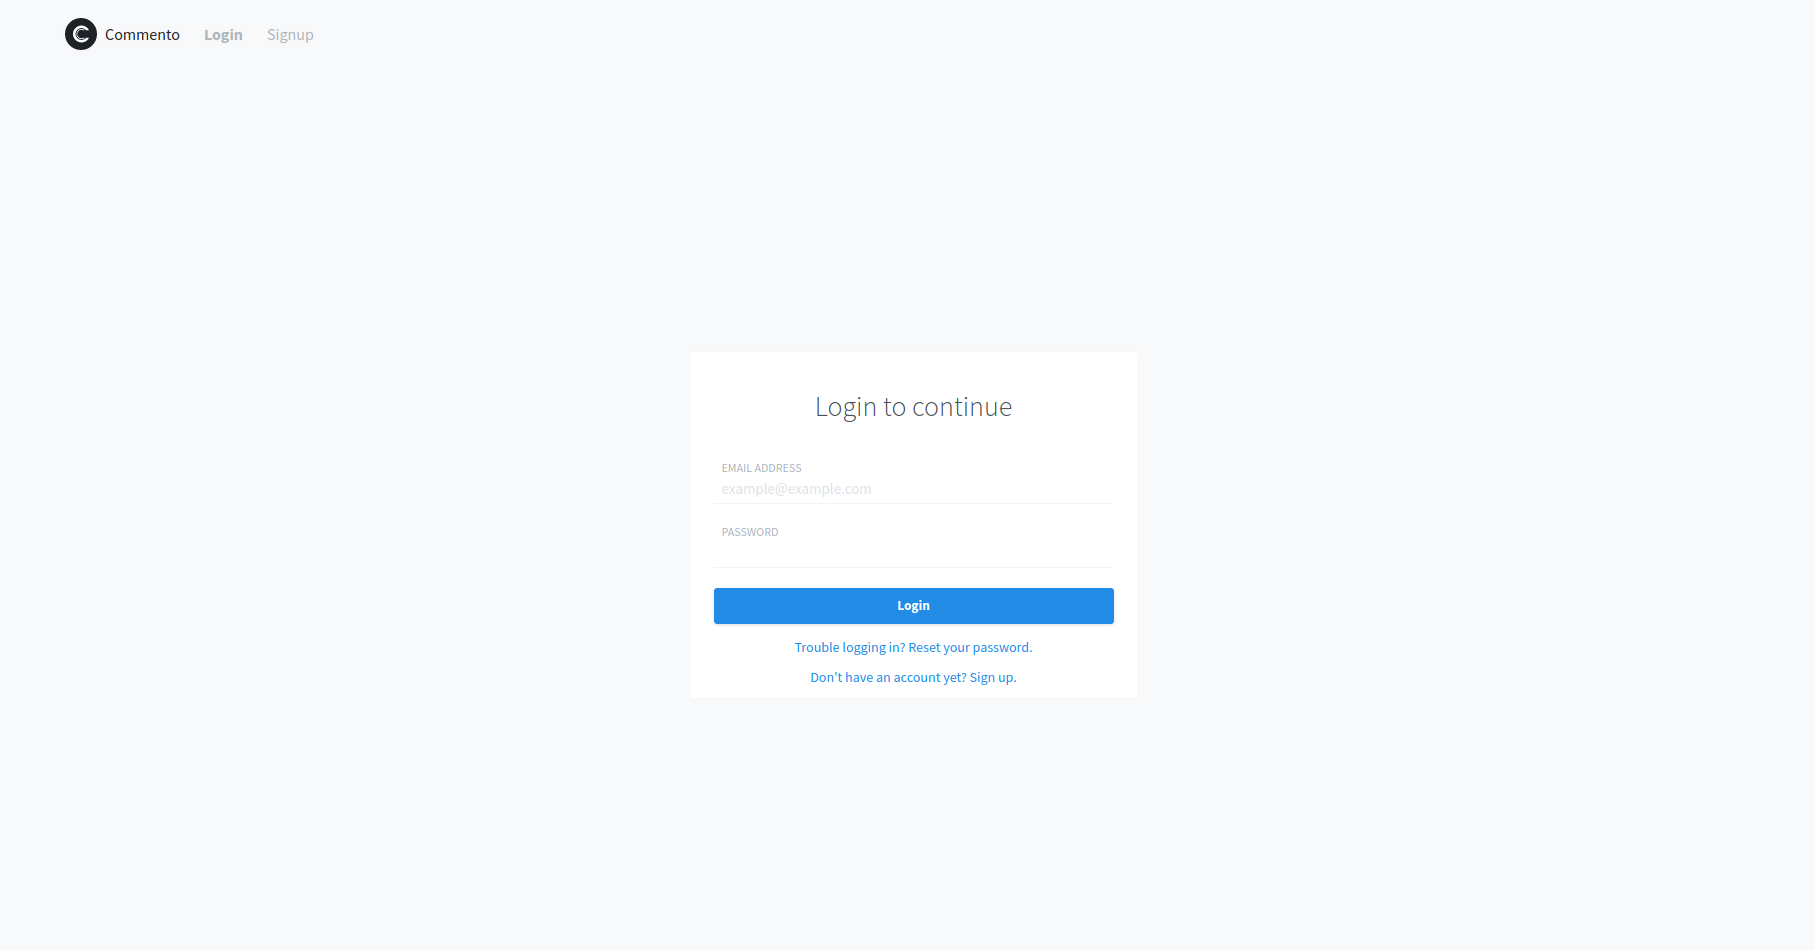
docker-compose up -dAfter starting, you should now be able to access Commento on localhost:8080 and see the following UI.
Adding SSL
If you want to include Commento into an HTTPS site, you must add a valid SSL certificate and expose the service on a domain or subdomain. This can easily be achieved using the nginx-proxy container with the letsencrypt-companion.
Both of them can be started using the following docker-compose file. Note: Make sure that the nginx-proxy is in the same Docker network as Commento so they can communicate.
version: '2'
services:
  nginx-proxy:
    restart: always
    image: jwilder/nginx-proxy
    ports:
      - "80:80"
      - "443:443"
    volumes:
      - "/etc/nginx/vhost.d"
      - "/usr/share/nginx/html"
      - "/var/run/docker.sock:/tmp/docker.sock:ro"
      - "/etc/nginx/certs"
  letsencrypt-nginx-proxy-companion:
    restart: always
    image: jrcs/letsencrypt-nginx-proxy-companion
    volumes:
      - "/var/run/docker.sock:/var/run/docker.sock:ro"
    volumes_from:
      - "nginx-proxy"
Once these containers are running, we need to tell the nginx-proxy which port of a container it should expose and the domain it should expose the port to using the VIRTUAL_HOST,VIRTUAL_PORT, and LETSENCRYPT_HOST environment variables.
version: '3'

services:
  server:
    image: caroga/commentoplusplus
    ports:
      - 8080:8080
    environment:
      COMMENTO_ORIGIN: https://comments.YOURDOMAIN.org
      COMMENTO_PORT: 8080
      COMMENTO_POSTGRES: postgres://postgres:postgres@db:5432/commento?sslmode=disable
      #COMMENTO_FORBID_NEW_OWNERS: "true"
      COMMENTO_GZIP_STATIC: "true"
      VIRTUAL_HOST: comments.YOURDOMAIN.org
      VIRTUAL_PORT: 8080
      LETSENCRYPT_HOST: comments.YOURDOMAIN.org
    networks:
      - db_network
    depends_on:
      - db
  db:
    image: postgres
    environment:
      POSTGRES_DB: commento
      POSTGRES_USER: postgres
      POSTGRES_PASSWORD: postgres
    volumes:
      - postgres_data_volume:/var/lib/postgresql/data
    networks:
      - db_network

volumes:
  postgres_data_volume:
networks:
  db_network:
After restarting the containers Commento should be accessible on the domain you specified.
Creating a user
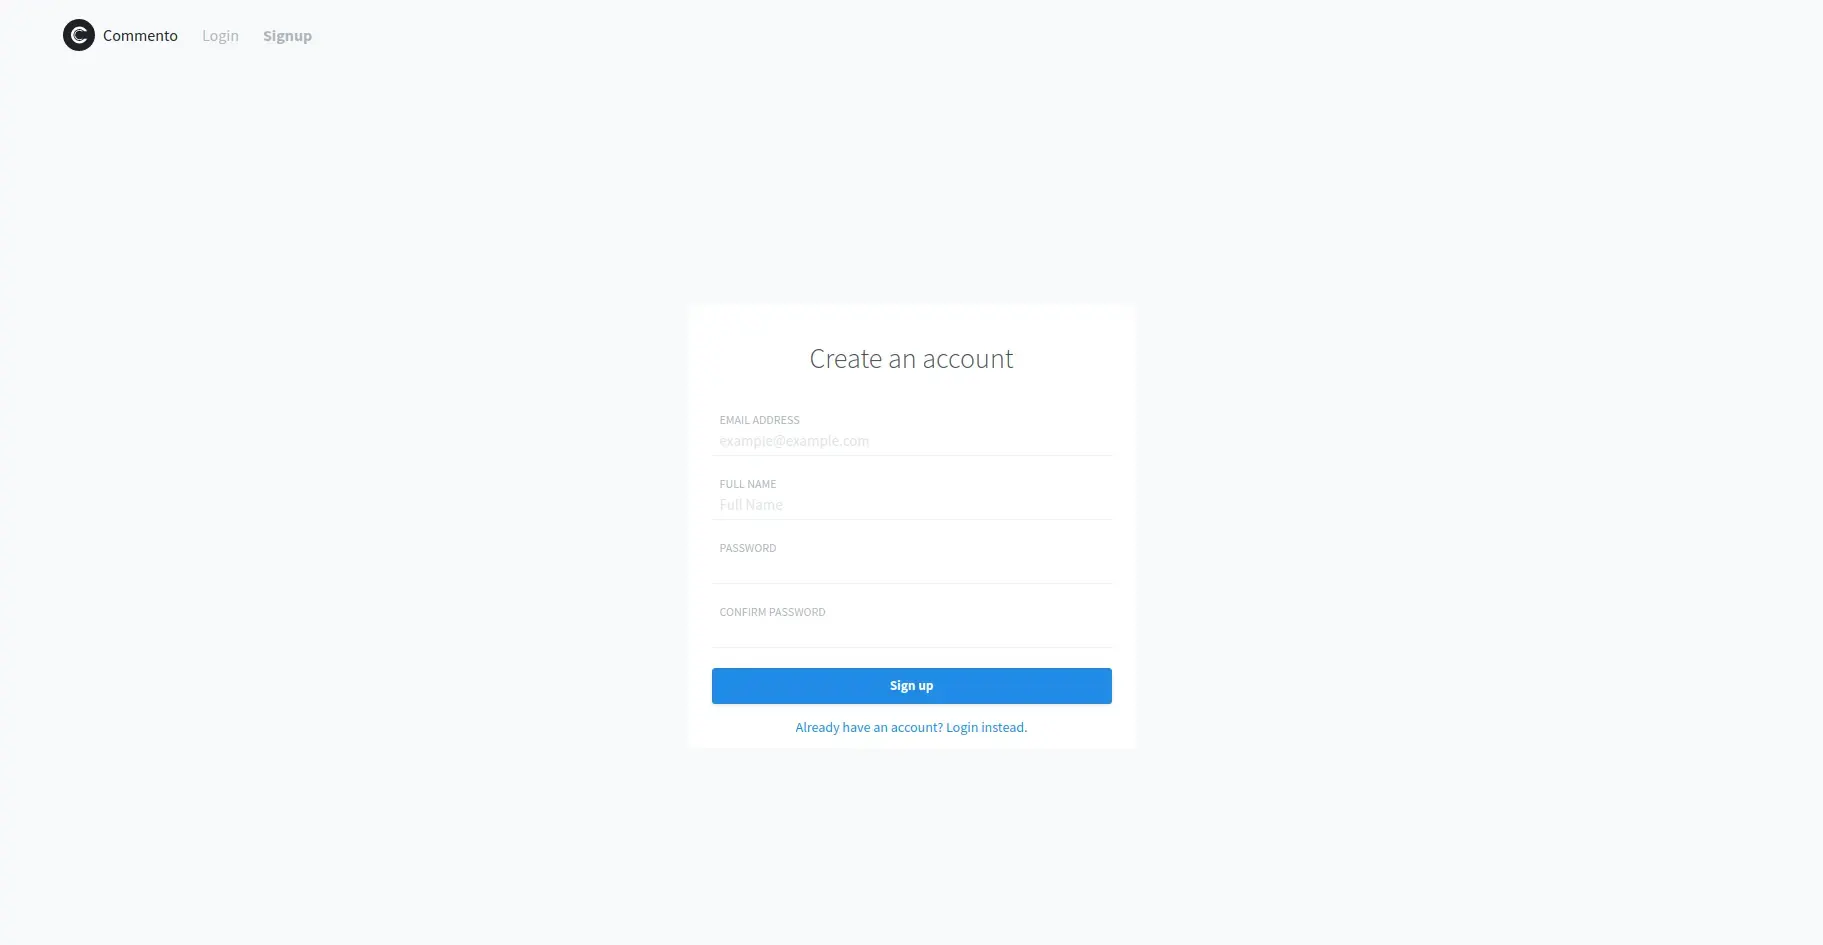
Now that the Commento setup is finished it is time to create an admin user account, which will be used to access and manage Commento. To start, click on the SignUp tab on the top left, fill out the required fields and click Sign up.
Forbid the creation of new owners
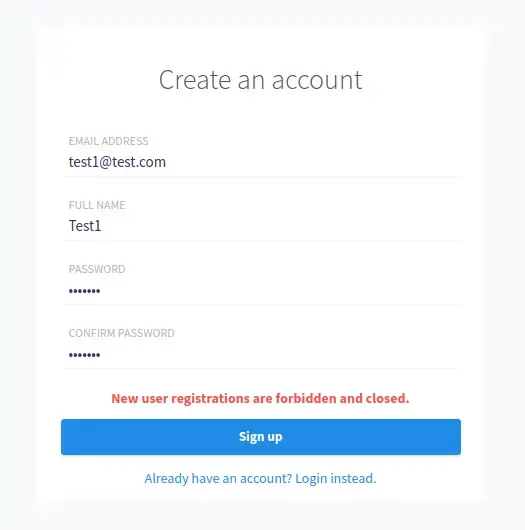
Since you don’t want other users to create an admin account on your server, you must disable the creation of admin accounts using the COMMENTO_FORBID_NEW_OWNERS environment variable.
COMMENTO_FORBID_NEW_OWNERS: "true"Once you restarted the container the creation of new admin users should be forbidden. You can test this by visiting the Signup page and trying to create a new user.
Adding Commento to your website
Now that everything is running and you have access to the admin dashboard, you can add Commento to your website. To do so, you just need to copy the following code into your HTML (Note: Please make sure you change the URL to your corresponding domain).
<div id="commento"></div>
<script defer
  src="http://commento.example.com/js/commento.js">
</script>
Once you visit your page you should see something similar to this:
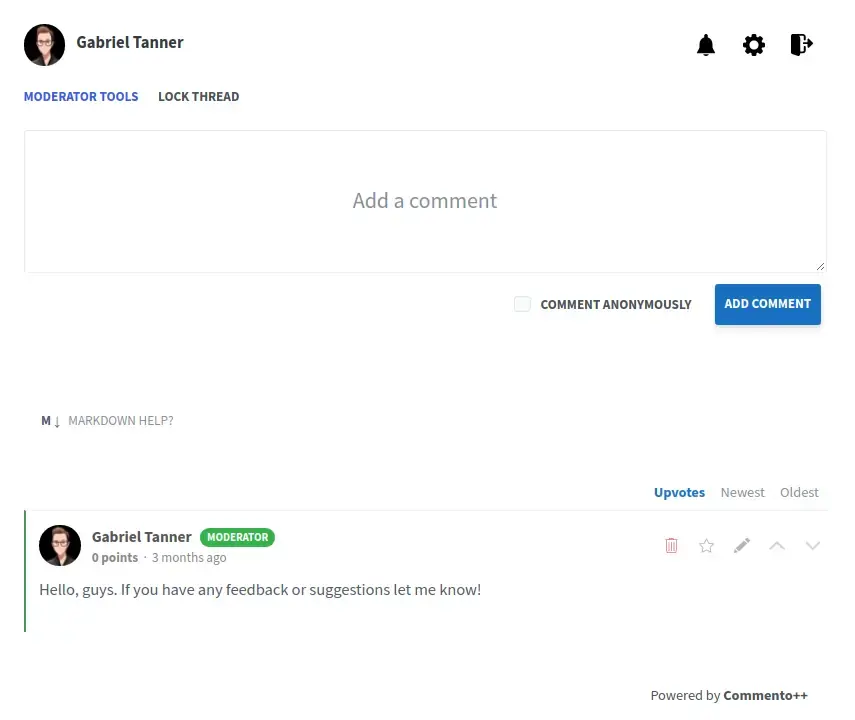
You can now start trying out your comment section and checking if everything works correctly. There are also some more configuration options like email verification and social logins, which we will look at in the following sections.
Enable SMTP
If you would like to receive email notifications whenever someone comments on one of your articles you will need to add SMTP to your Commento configuration. There are a lot of free SMTP services out there, which can be used here (I use Sendgrid which has worked great so far).
COMMENTO_SMTP_HOST: DOMAIN_OR_IP
COMMENTO_SMTP_PORT: SMTP_PORT
COMMENTO_SMTP_USERNAME: USERNAME
COMMENTO_SMTP_PASSWORD: PASSWORD
COMMENTO_SMTP_FROM_ADDRESS: EMAIL_ADDRESS
After restarting Commento you should now receive email notifications for comments and use extra functionality like exporting all your comments.
Enabling Social logins
Social logins can also be enabled using environment variables and require the API Key and secret of the social service you want to use. Here is a list of the available environment variables:
COMMENTO_GOOGLE_KEY
COMMENTO_GOOGLE_SECRET
COMMENTO_GITHUB_KEY
COMMENTO_GITHUB_SECRET
COMMENTO_TWITTER_KEY
COMMENTO_TWITTER_SECRET
Sources
- Commento Documentation
- CommentoPlusPlus Github
- Victor Zhou - Replacing Disqus
Conclusion
In this article, you set up your own privacy- and performance-optimized comment section and added it to your blog.
If you have found this helpful, please consider recommending and sharing it with other fellow developers and subscribing to my newsletter. If you have any questions or feedback, let me know using my contact form or contact me on Twitter.