Ghost is an open-source platform for building and running a modern online publication. It powers blogs, magazines, and journalists from Zappos to Sky News.
In this tutorial, you’ll learn how setup Ghost on your local machine and use its API to build a blog in Nuxt.js.
Table of contents
Open Table of contents
Why should you use Ghost
Now the question remains why you should use the Ghost in the first place. Here are some benefits it has over other Content Management Systems:
Extensible and rich text editor
Ghost provides a familiar editing environment that enables a seamless authoring experience that allows writers to focus on creating content. You can imagine it as a mix of Mediums editor and Slack’s integration which makes it very easy to edit your articles while providing a lot of great functionality. The editor is also fully extensible thanks to MobileDoc.
Free and open-source
Ghost is an entirely open-source application that can be used with nearly any modern technology stack. It provides a local installation setup for both Windows and Linux and even an own Docker image. You can also pay for it if you would like a Ghost Pro cloud solution.
Optimized distribution channels
Publish once, distribute everywhere. This principle is a core building block of Ghost and enables the user to easily control SEO (Search Engine Optimisation), define meta tags and even provides integration for tools like RSS readers, Email and Slack.
Complete JSON API
Ghost’s JSON API gives you full control over what data to get, set and display. It gives you the opportunity to build entire blogs or other publishing apps on top of it, and completely customize the reading experience. You will use the API in this tutorial to get the data into your custom Nuxt.js blog.
Ghost setup
Now that you have an overview of why you should use Ghost and where it can be useful. Let’s take a look at how you can install Ghost on your local machine. The installation is split into two parts:
- Installing Ghost on your local machine (Two different ways)
- Basic Ghost configuration so you can use the API
Installation
Windows:
The installation process on Windows is straight forward and can be done using the Ghost-CLI (Command Line Interface) which can be downloaded using the node package manager (npm) or yarn.
npm install ghost-cli@latest -gOnce installed, use the following command to verify your installation.
ghost -vAfter successfully installing the CLI you can continue by installing a local version of Ghost using the following command in an empty directory.
ghost install localYour ghost site should now be visible on http://localhost:2368. You can also verify that it is running using the ghost ls command.
That is it for the Windows installation. Here are some useful commands to control your Ghost instances.
ghost stop- to stop Ghostghost start- to start Ghostghost log- views logs
Docker:
Another way to install Ghost on your local machine is through the official docker image. If you have no previous experience with Docker, I would recommend using the installation guide above because it can be harder to understand at first.
Here is the command to run a basic Ghost installation:
docker run -d --name ghost -p 2368:2368 ghostThis command runs a docker container with the official ghost image and publishes the port 2368 so that you can use the container on your host system without having to type the IP address of the container before the port.
Your instance should now run on http://localhost:2368 and should be identical to that of the previous installation.
You need to keep one more thing in mind when you install Ghost using Docker. And that is how you can preserve the state of your application when your container lifecycle changes. This is done by defining volumes.
docker run -d --name ghost -p 2368:2368 -v local/path/data:/var/lib/ghost/content ghostIf you want more information on how to setup Ghost using Docker, I would recommend checking out the documentation for the official image.
Ubuntu:
I never personally installed Ghost on Ubuntu that is why I will just link to the official documentation instead.
Basic configuration
Now that the installation is complete and you have Ghost running on your local machine let’s continue with the basic configuration of your Ghost project.
The first screen you see when you visit http://localhost:2368 should look something like this.
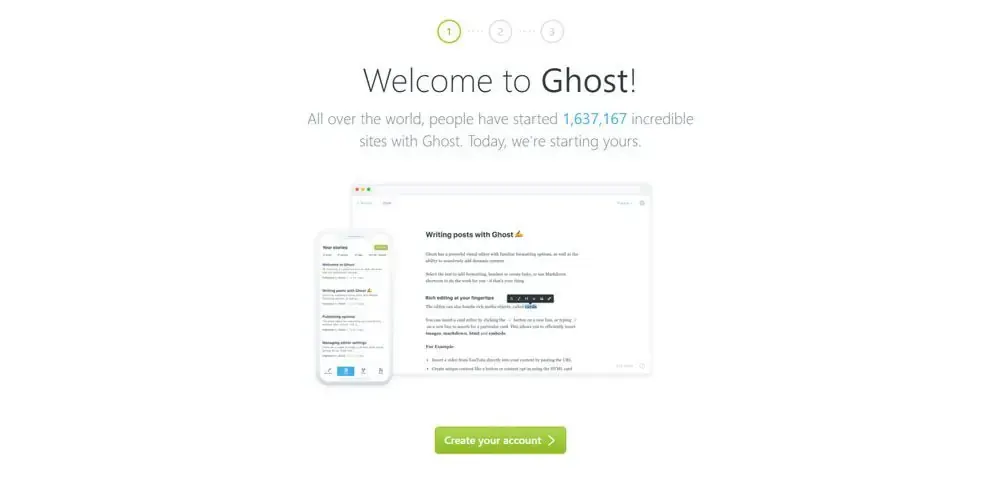
Here you just need to click create an account and continue with the setup.
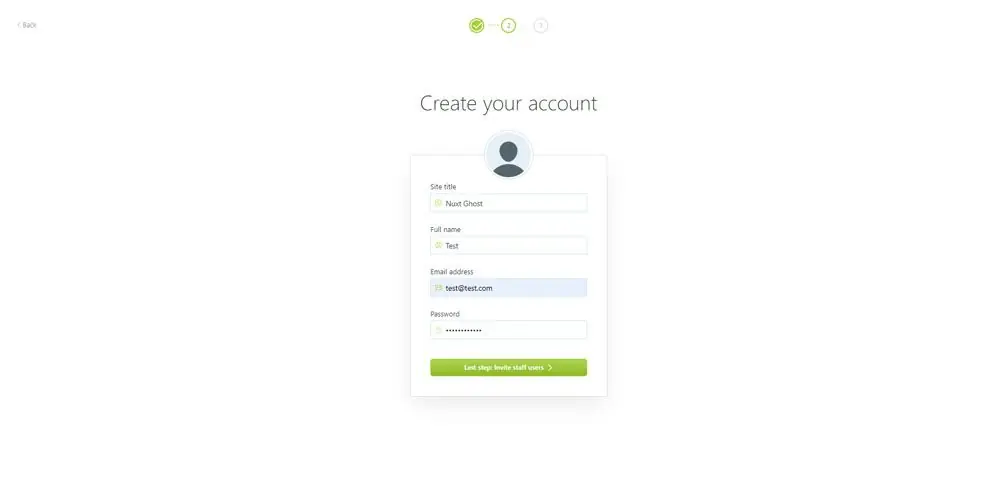
Next up you need to create a user. Just fill in the form and then continue.
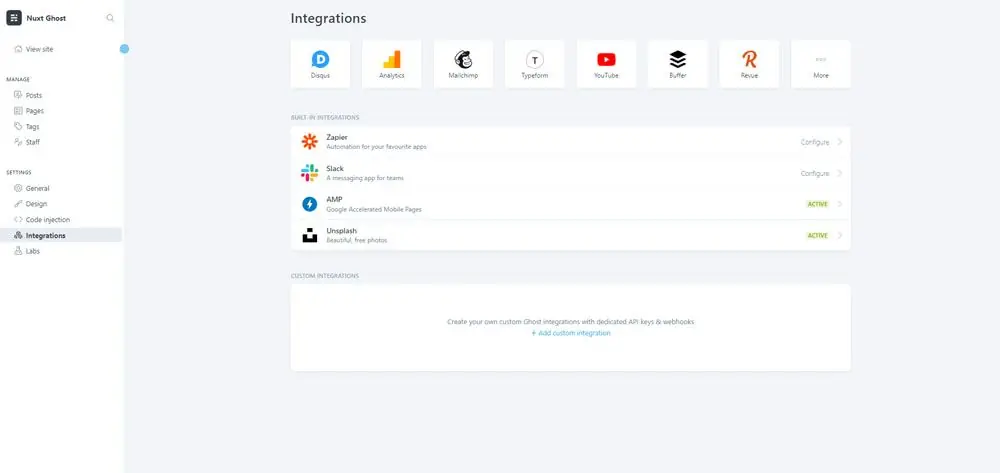
The next step is to add other writers which we will skip for now. After clicking continue you should see a window that looks similar to this one.

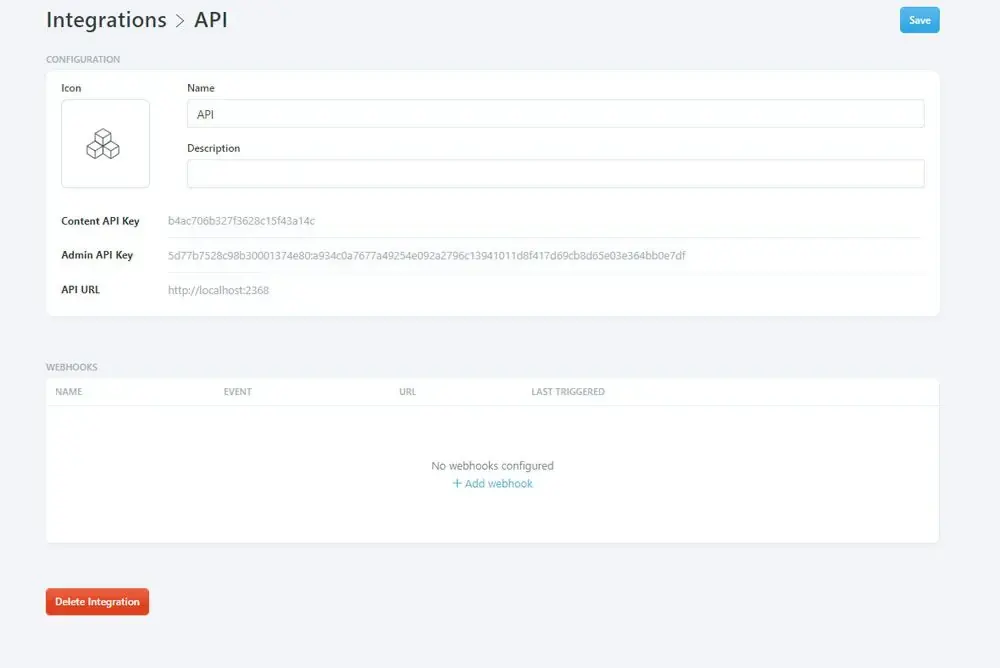
The next step is to enable the API so you can start developing your frontend in Nuxt.js. You can do so by navigating to integrations and click on “Add custom integration”.
Now you just need to give it a name in my case API.
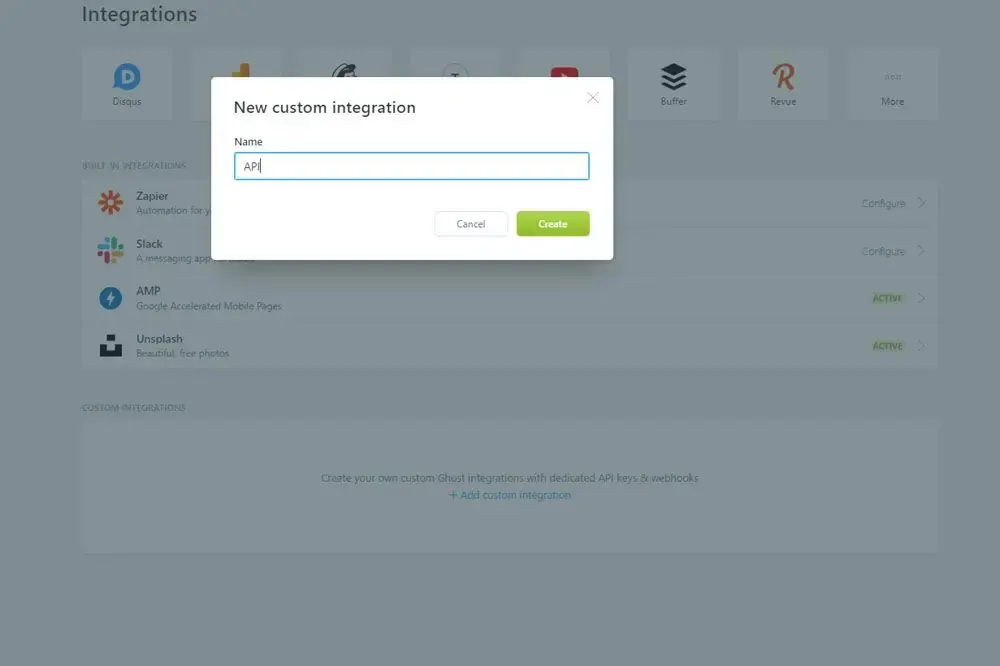
That is it, you should see your Content and Admin API Keys which you will use to get the data from the API into your Frontend.
Ghost API
Perfect, now that the setup is completed let’s take a look at the Ghost Content API and all the possibilities and endpoints that are available.
The Ghost RESTful API delivers published content to users and can be accessed in a read-only manner by any client to render the website. Access control is managed via an API key and provides an SDK which makes it easy to filter and query your data.
Endpoints
All endpoints of the Content API use the GET keyword and return JSON data. Here is a list of the most important Endpoints:
/posts- Get posts/authors- Get authors/tags- Get tags/pages- Get pages/settings- Get settings
Responses of these endpoints are lists that contain objects. Here is a sample response of the /posts endpoint.
{
  "posts": [
    {
      "slug": "welcome-short",
      "id": "5c7ece47da174000c0c5c6d7",
      "uuid": "3a033ce7-9e2d-4b3b-a9ef-76887efacc7f",
      "title": "Welcome",
      "html": "<p>👋 Welcome, it's great to have you here.</p>",
      "comment_id": "5c7ece47da174000c0c5c6d7",
      "feature_image": "https://casper.ghost.org/v2.0.0/images/welcome-to-ghost.jpg",
      "featured": false,
      "meta_title": null,
      "meta_description": null,
      "created_at": "2019-03-05T19:30:15.000+00:00",
      "updated_at": "2019-03-26T19:45:31.000+00:00",
      "published_at": "2012-11-27T15:30:00.000+00:00",
      "custom_excerpt": "Welcome, it's great to have you here.",
      "codeinjection_head": null,
      "codeinjection_foot": null,
      "og_image": null,
      "og_title": null,
      "og_description": null,
      "twitter_image": null,
      "twitter_title": null,
      "twitter_description": null,
      "custom_template": null,
      "canonical_url": null,
      "page": false,
      "primary_author": null,
      "primary_tag": null,
      "url": "https://demo.ghost.io/welcome-short/",
      "excerpt": "Welcome, it's great to have you here."
    }
  ]
}
The sdk also lets you define the specific fields you want to query and other filter options.
If you want more information about the Ghost Content API, I would recommend the official documentation.
Creating the Nuxt project
Now that you have Ghost setup property and know the basics about the API let’s start diving into your Nuxt.js frontend.
Setup
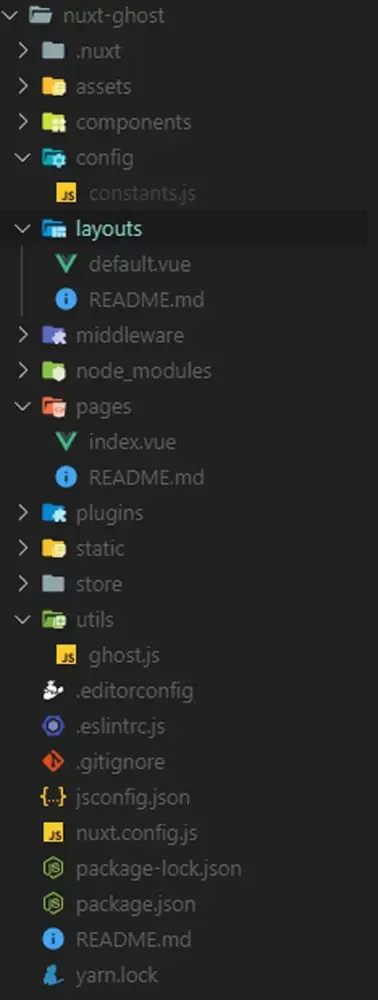
First, you need to create a new Nuxt.js project and install the needed dependencies using the following commands.
npx create-nuxt-app nuxt-ghost
cd nuxt-ghost && npm install @tryghost/content-api --save
These commands will create a basic Nuxt project and install the needed dependency. Now you only need to create the needed files and folders before you can start coding. Here is a screenshot of my folder structure:
Implementing the Ghost API
Now that you have completed the setup process, you can go ahead and start implementing the actual functionality. Let’s start by copying your API key into the constant.js file you created above.
export const API_KEY = "YOUR-KEY"The next step is to implement some utilities that will make using the Ghost content API library a lot easier. For that, you need to add some simple code to your ghost.js file.
import GhostContentAPI from '@tryghost/content-api'
import {
  API_KEY
} from "../config/constants";

const ghost = (url, key) => {
  return new GhostContentAPI({
    url: url,
    key: key,
    version: 'v2'
  })
}

const postIndexFields = [
  'id',
  'uuid',
  'title',
  'slug',
  'feature_image',
  'published_at',
  'html',
  'excerpt'
]

const postsPerPage = 8

const ghostAPI = () => {
  return ghost("http://localhost:2368", API_KEY)
}

export {
  ghostAPI,
  postsPerPage,
  postIndexFields
}
All right, let’s walk through it for a better understanding:
- We import the
GhostContentAPIand API key from our configuration file - Then we create a basic Ghost API instance using the URL your Ghost instance runs on and the API key of your API
- The
postIndexFieldsvariable defines the fields we want to get from the API and will be used later - Lastly, we export the three variables, so we can use them in other files
Now open the pages/index.vue file and import the utilities you just created in your config.
<script>
import { ghostAPI, postIndexFields } from "@/utils/ghost";

export default {
  async asyncData() {
    const posts = await ghostAPI().posts.browse({
      fields: postIndexFields
    });
    const post = posts[0];
    return {
      post
    };
  }
};
</script>
Here, you get all post you have published in Ghost and save them in a variable by defining the endpoint you want to send the request to (In this case posts) and define the fields that you want to get (If you don’t define the fields you will get all by standard).
Then you return the first article of the array which you will display in your layout.
All you need to do now is render the markup and add some style.
<template>
  <section>
    <section class="blog-post">
      <h1 class="title">{{ post.title }}</h1>
      <div v-html="post.html"></div>
    </section>
  </section>
</template>

<script>
import { ghostAPI, postIndexFields } from "@/utils/ghost";

export default {
  async asyncData() {
    const posts = await ghostAPI().posts.browse({
      fields: postIndexFields
    });
    const post = posts[0];
    return {
      post
    };
  }
};
</script>

<style scoped>
.blog-post {
  margin: 25px 0;
  align-content: center;
  width: 100%;
  display: flex;
  justify-content: center;
  flex-direction: column;
  align-items: center;
}

.title {
  margin: 50px 0;
}

p {
  color: #000;
  margin: 15px 0 5px;
  max-width: 450px;
  line-height: 1.44;
}
</style>
There you go. You’ve successfully fetched a blog post from the Ghost API.
If you open your app, it will look something like this.
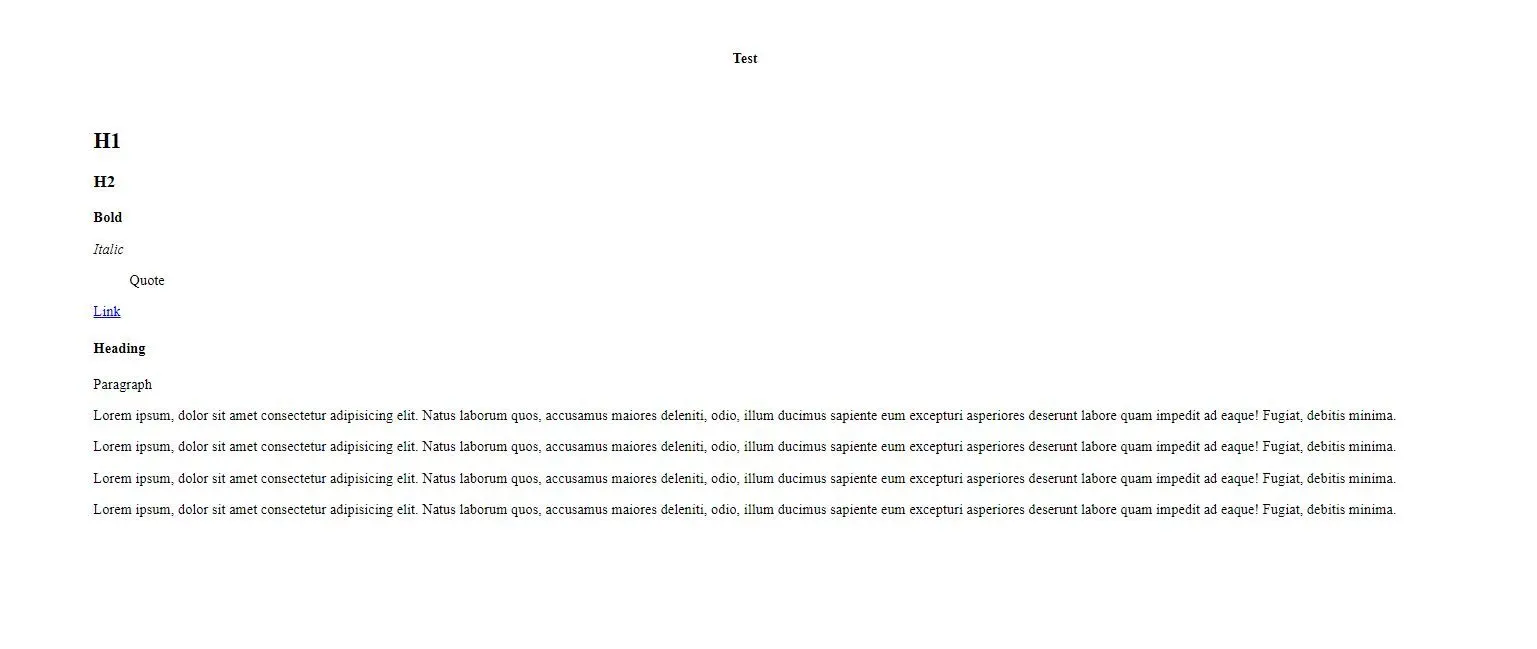
Voilà! You have a modern server-side rendered blog, build with Ghost.
We barely scratched the surface of what is possible with the Ghost API but got a great overview of how to use it. The other requests function very similar and can be added by you with very small-time investment.
The whole code of this tutorial is also available on my Github.
Conclusion
You made it all the way until the end! I hope that this article helped you understand the basics of Ghost and how you can use the API to build custom applications.
If you have found this useful, please consider recommending and sharing it with other fellow developers and joining my email list. If you have any questions or feedback, let me know on Twitter or over my contact form.